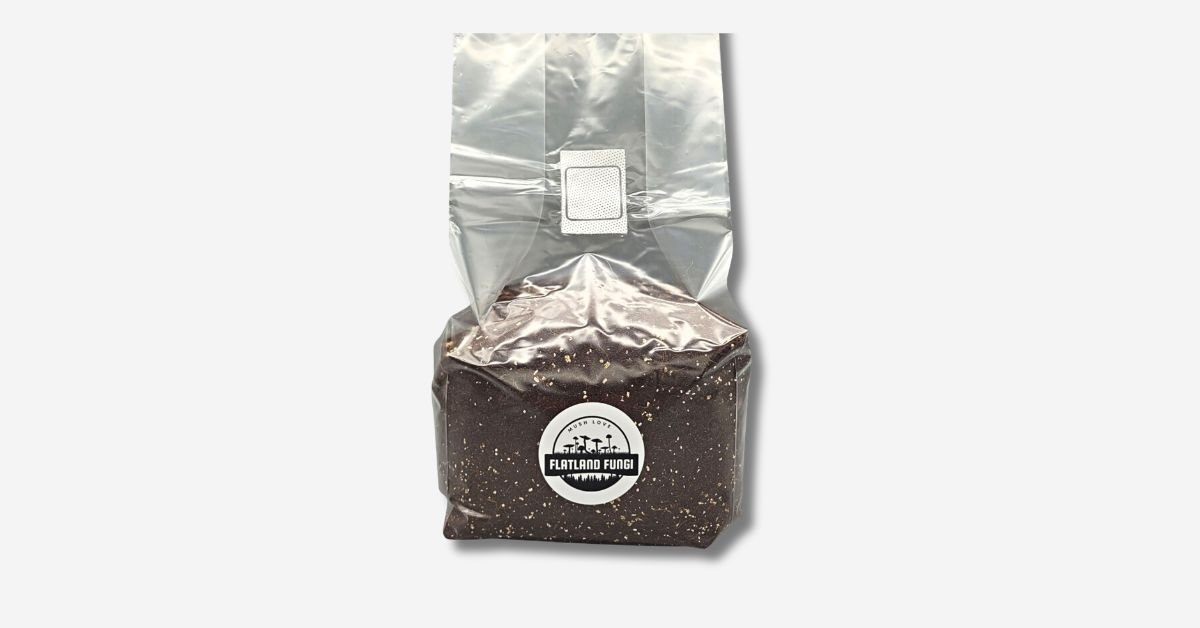
How to use an All-In-One Mushroom Grow Bag (CVG)
In this guide, you will learn how to successfully grow mushrooms using our All-In-One mushroom grow bag. This particular bag

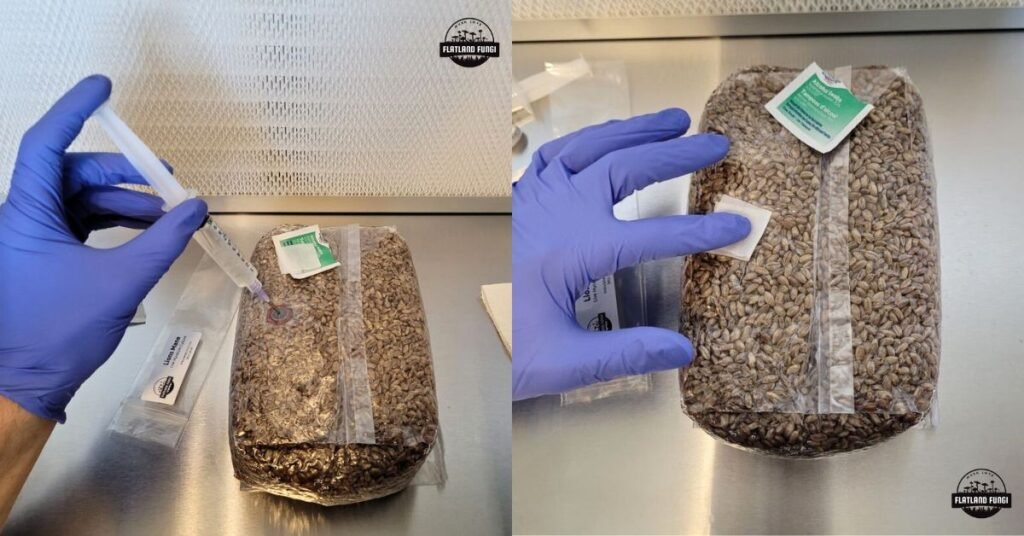
In this guide, you will learn how to inoculate sterilized mushroom grain spawn using a liquid culture syringe, spore syringe, colonized spawn, or agar culture.
As a side note, if the genetics you are using (spores, liquid culture, agar culture) are contaminated, the sterile grain spawn will not work. Please ensure your genetics come from a reliable supplier and have been tested.
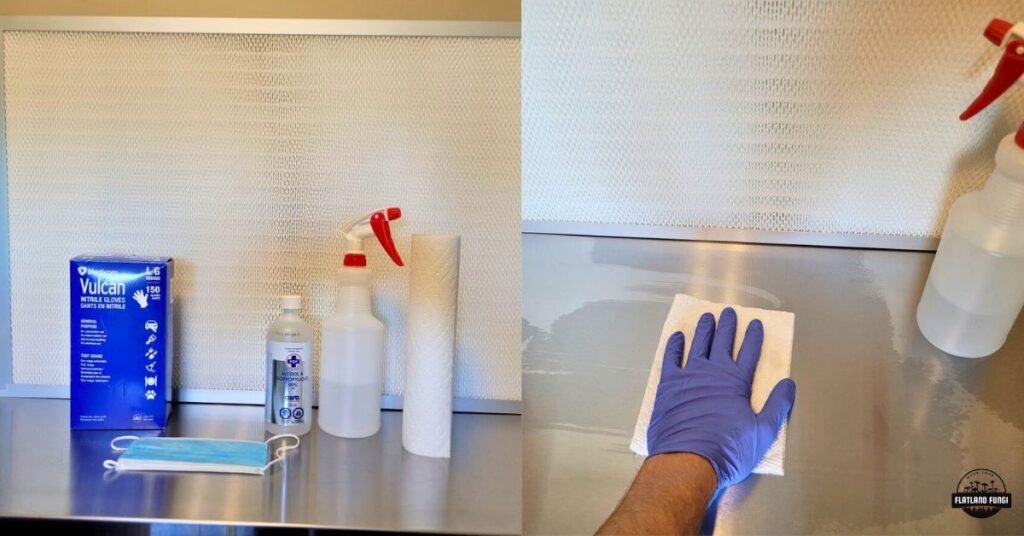
Keeping your workspace, spawns, substrate, and cultures clean and sterile is essential to successful mushroom cultivation. Each step of the process takes a significant amount of time, and the last thing you want is for you to introduce competing bacteria to your developing mycelium, resulting in a contaminated grow.
Take the time to clean all of your tools, yourself, workspace, and supplies with isopropyl alcohol, as well as ensure spawns and substrates are sterilized correctly.
There are several types of genetics you can use to inoculate your mushroom spawn, such as colonized spawn, agar tissue, spores, or liquid culture.
Needles are single-use only, unless you flame-sterilize.
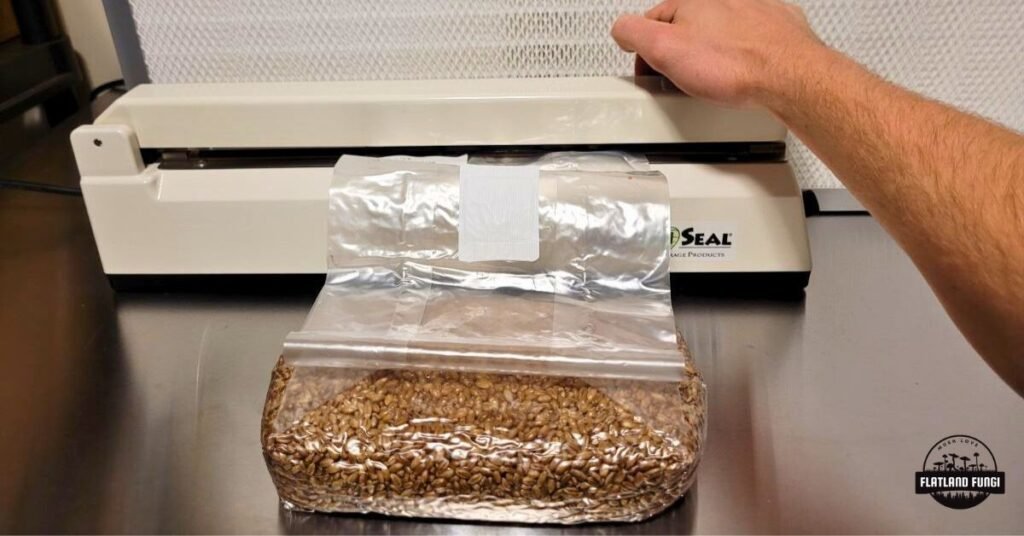
Note: Colonization can take 2 to 6 weeks. Place the bag in a dark, warm spot (20C to 25C), and ensure the bag is not suffocated. Fresh air exchange will occur through the filter patch near the top of the bag.
Note: Colonization can take 2 to 6 weeks. Place the bag in a dark, warm spot (20C to 25C), and ensure the bag is not suffocated. Fresh air exchange will occur through the filter patch near the top of the bag.
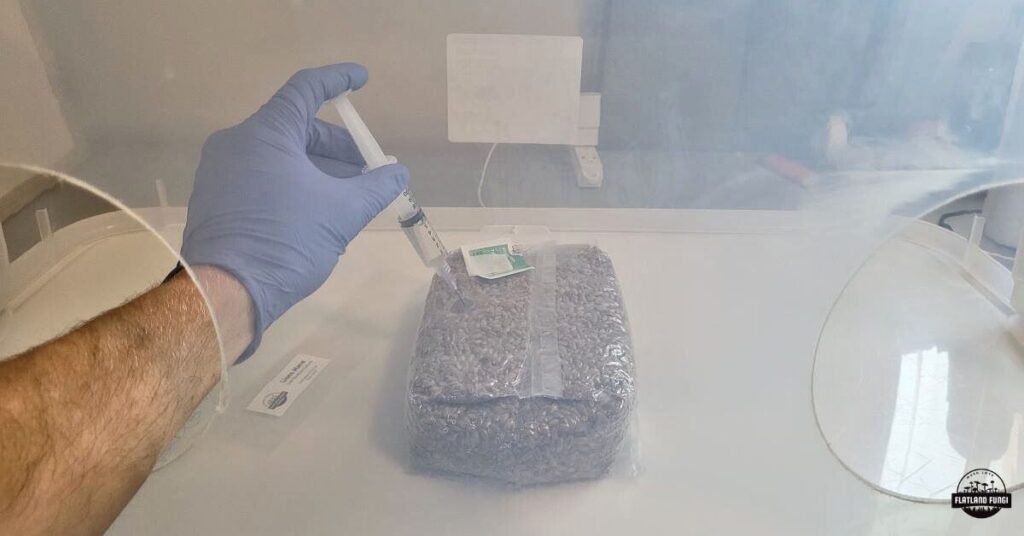
Any agar work should be done in front of a laminar flow hood or in a still air box. Performing agar tissue work in the open air will likely bring contamination.
Note: Colonization can take 2 to 6 weeks. Place the bag in a dark, warm spot (20C to 25C), and ensure the bag is not suffocated. Fresh air exchange will occur through the filter patch near the top of the bag.
I hope this guide was helpful. If you have any further questions, please send us an email: info@flatlandfungi.com
In this guide, you will learn how to successfully grow mushrooms using our All-In-One mushroom grow bag. This particular bag
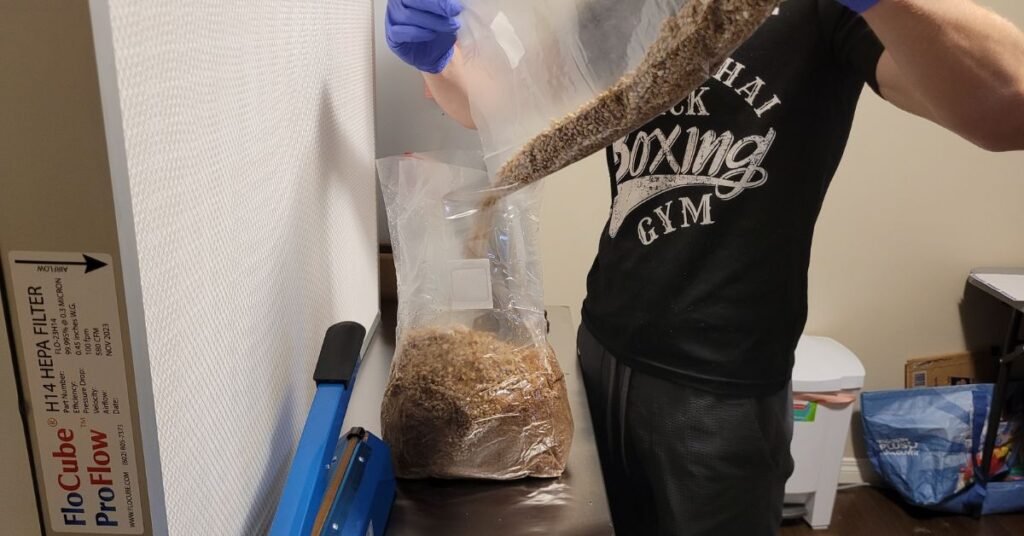
In this guide, you will learn how to inoculate sterilized mushroom cvg substrate using colonized grain spawn. CVG substrate is