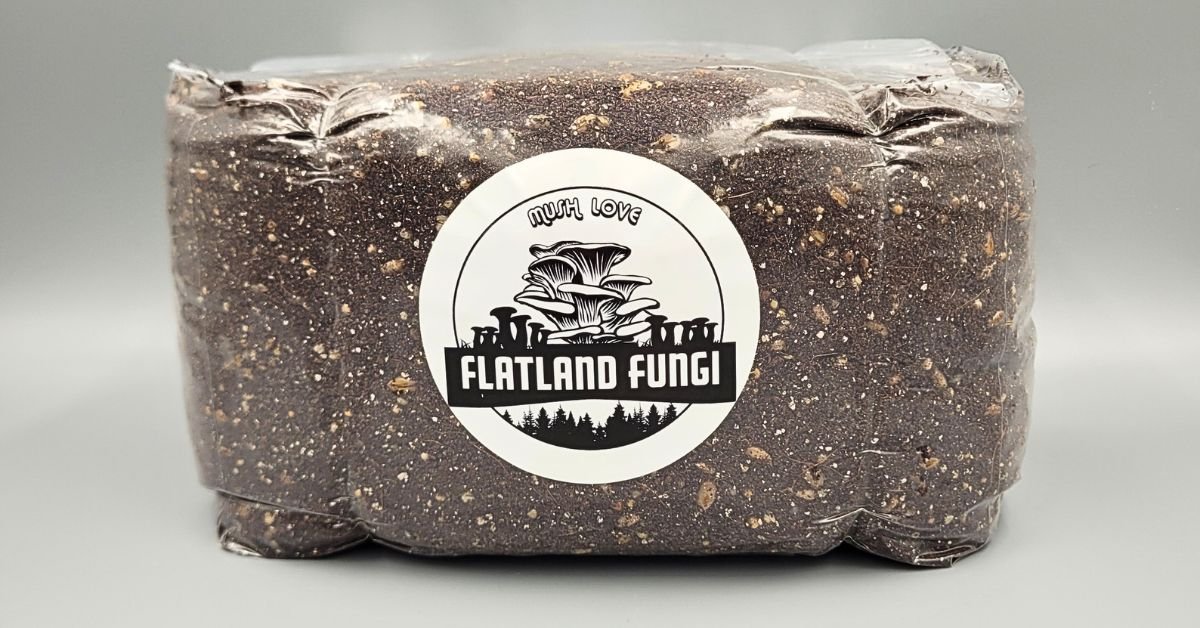
How to use Sterilized Coco Coir (CVG) Mushroom Substrate
In this guide, you will learn how to inoculate sterilized mushroom cvg substrate using colonized grain spawn. CVG substrate is
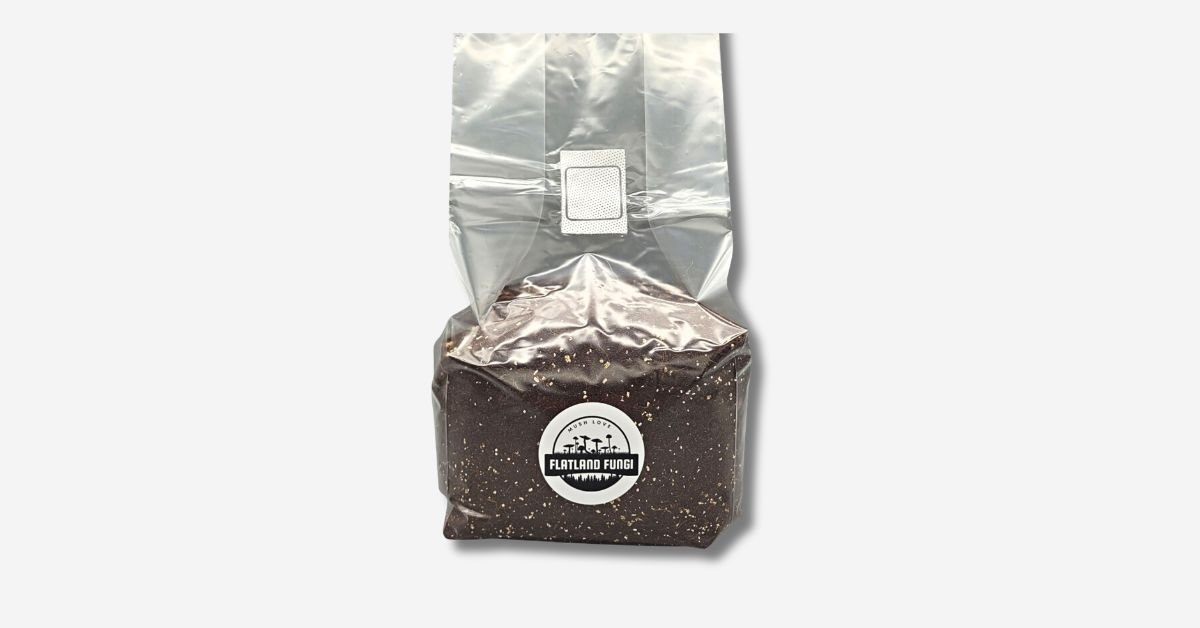
In this guide, you will learn how to successfully grow mushrooms using our All-In-One mushroom grow bag. This particular bag is best used with Psilocybe Cubensis varieties. We sell a sterilized gourmet all-in-one bag here.
As a side note, if the liquid culture syringe/spore syringe you are using is contaminated, the all-in-one bag will not work. Please ensure your genetics comes from a reliable supplier and have been tested.
Keeping your workspace, spawns, substrate, and cultures clean and sterile is essential to successful mushroom cultivation. Each step of the process takes a significant amount of time, and the last thing you want is for you to introduce competing bacteria to your developing mycelium, resulting in a contaminated grow.
Take the time to clean all of your tools, yourself, workspace, and supplies with isopropyl alcohol.
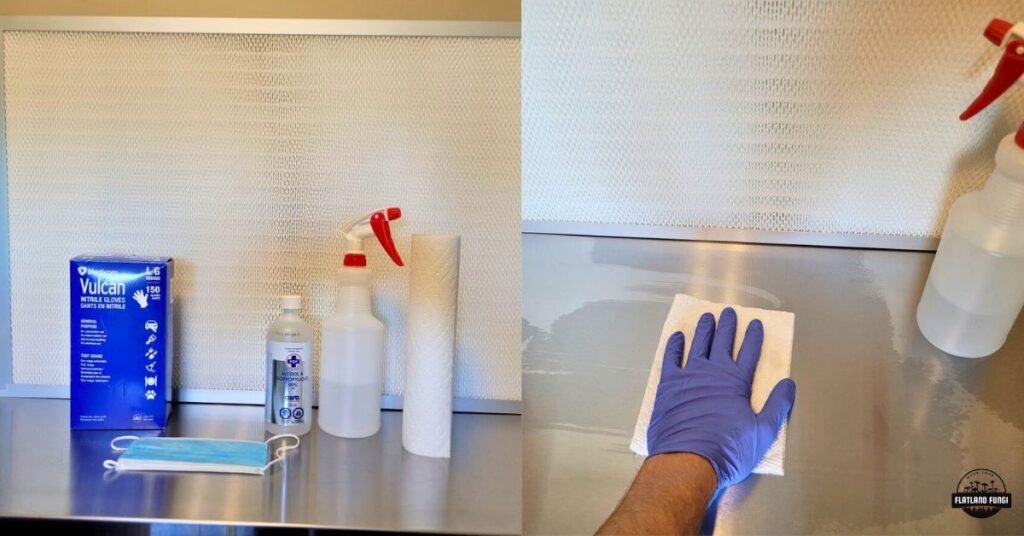
Ideally, you will want to perform these tasks in front of a flow hood or within a still-air box. At the very least, in a low-airflow room that has been cleaned with any airflow devices turned off and the door closed. This helps reduce contamination risk as the sterile mediums will be exposed to the open air while you’re performing the mixing.
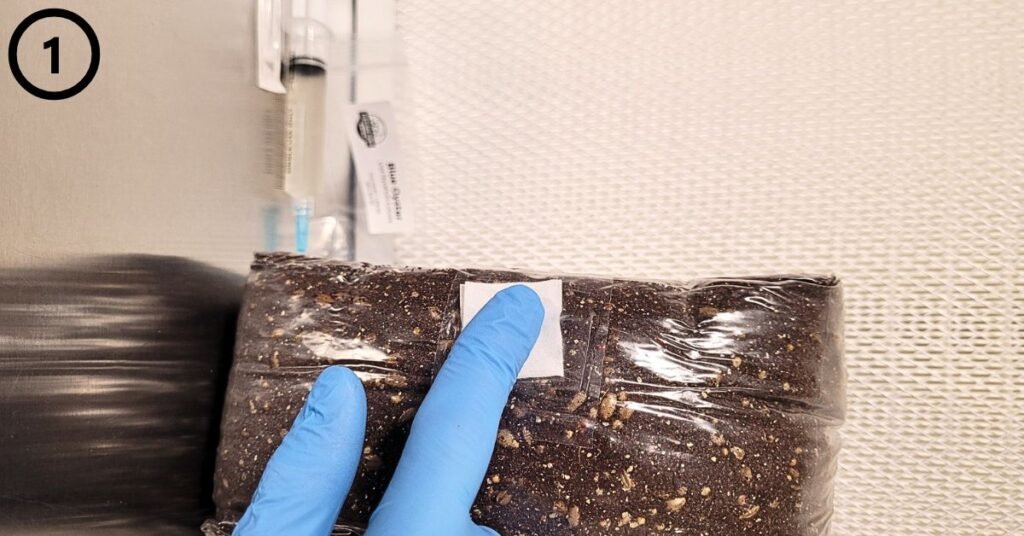
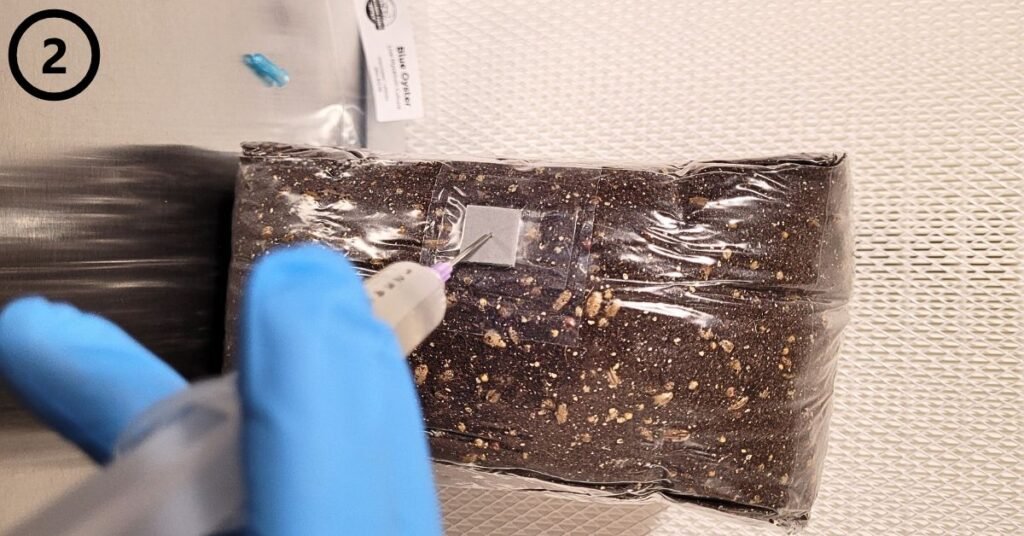
Inject spores/liquid culture solution through the injection port.
Tip: Wipe the injection port again after inoculation and cover it with a piece of micropore tape for extra protection against contamination.
After injection, its time to place your bag in a warm dark place for roughly 30 days.
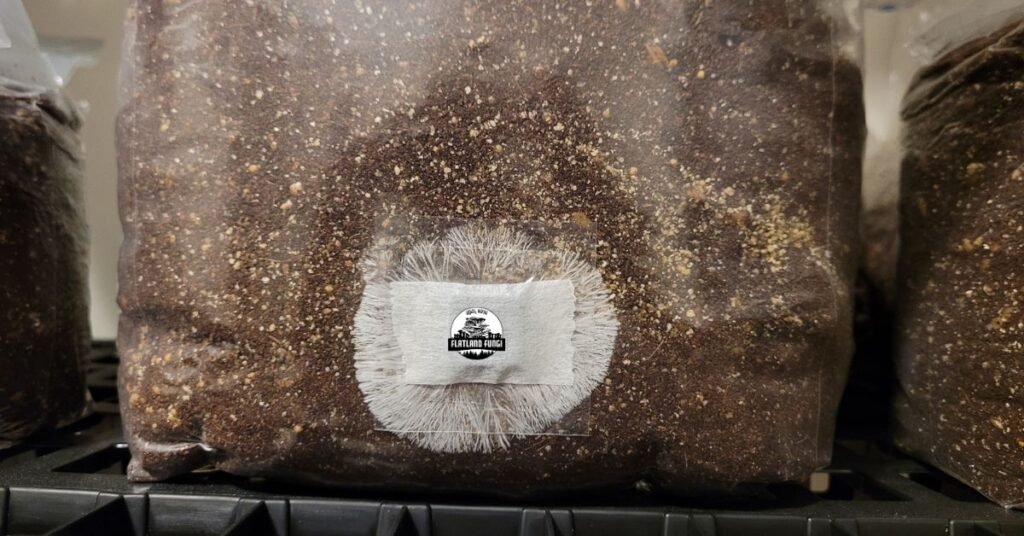
Once 30% of the bag has been colonized by mycelium its time to mix it into the rest of the bag. Colonization time will depend on the quality of your genetics (spores/LC) and the environment your keeping the bag at.
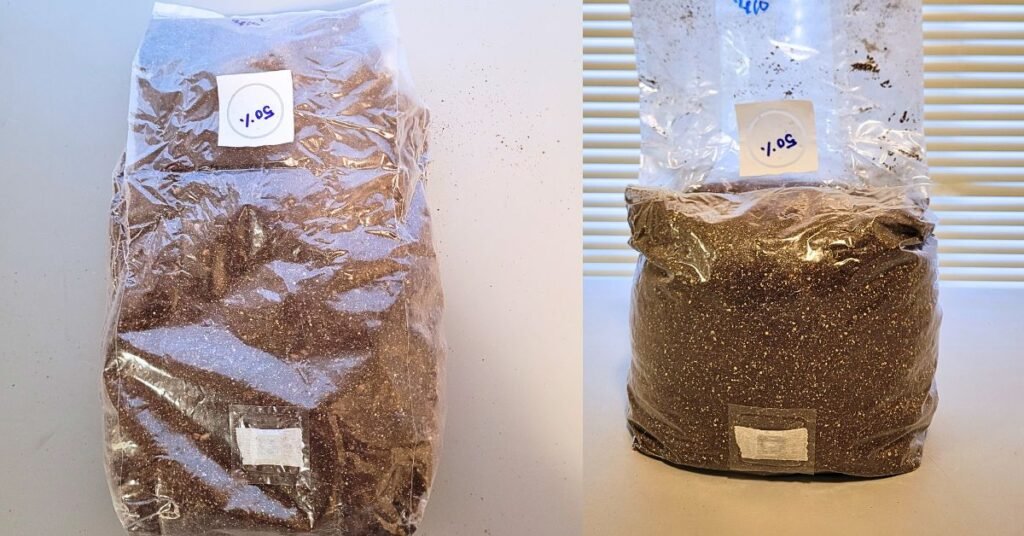
A thorough mixing session takes 5 minutes per bag. From the outside of the bag, gently massage and shake the colonized mycelium into the rest of the bag to promote an even healthy fruiting colonization.
Note: Be careful with the bag, if you’re too rough with it, it may rupture creating a hole and contaminating your bag.
Place the bag back into the same previous colonization environment. Let it colonize for another 1 to 3 weeks (technically this phase is called the incubation phase).
Incubation times will very depending on your genetics and environment.
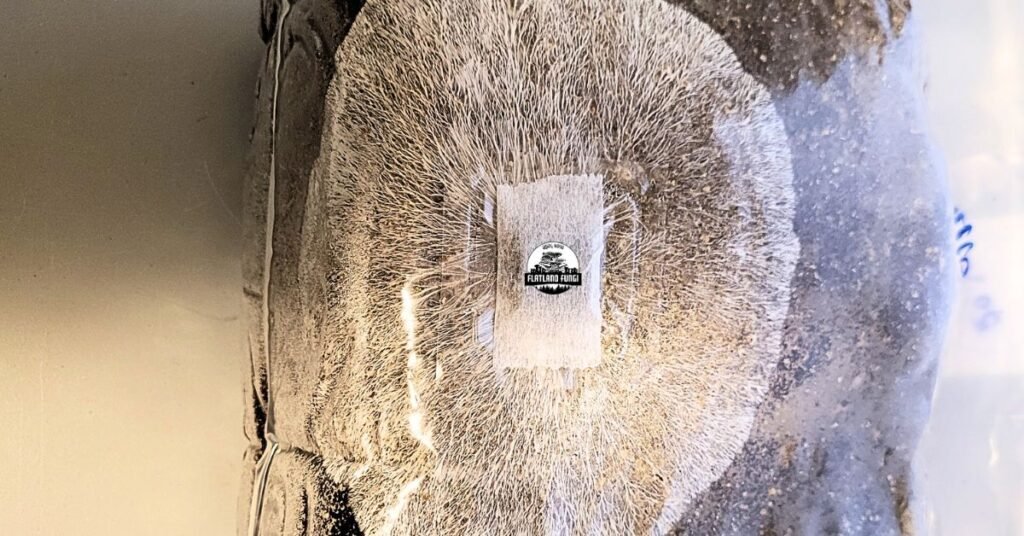
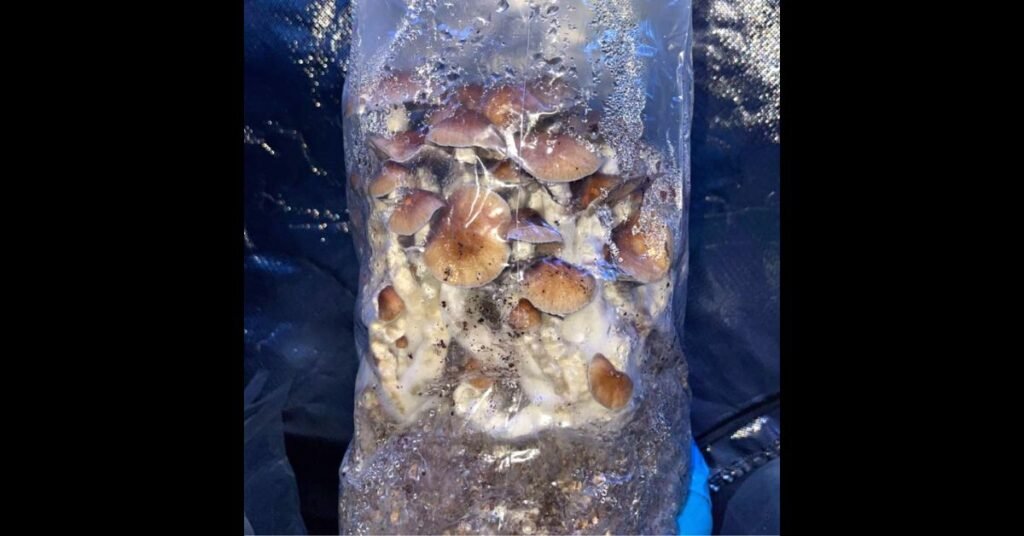
When the bag is ready to fruit it will look something like the picture below.

To promote fruiting within your bag, three conditions need to change:
Increase Humidity
Increase Fresh Air Exchange
Light Exposure
Temperature
There are a lot of different fruiting methods for bags people like to use, ultimately you will have to test what works best for you in your environment. Below I will outline a few methods and offer some tips.
Open top fruiting:
Dome fruiting:
Grow tent fruiting:
Tub fruiting:
In this guide, you will learn how to inoculate sterilized mushroom cvg substrate using colonized grain spawn. CVG substrate is

In this guide, you will learn how to inoculate sterilized mushroom grain spawn using a liquid culture syringe, spore syringe, colonized spawn, or agar culture.